This blog post is designed as a tutorial to walk a new RV Scribeware user through the steps required for configuring RV Scribeware to start performing RV inspections.
The software is designed to be as intuitive as possible, so creating a report using the RV Scribeware template requires little training. However, to maximize ScribeWare’s quality and efficiency, you should use its advanced customization features.
1 ) Download Scribeware
Download the software for your device(s) below. During setup, you’ll select your inspection region and industry.
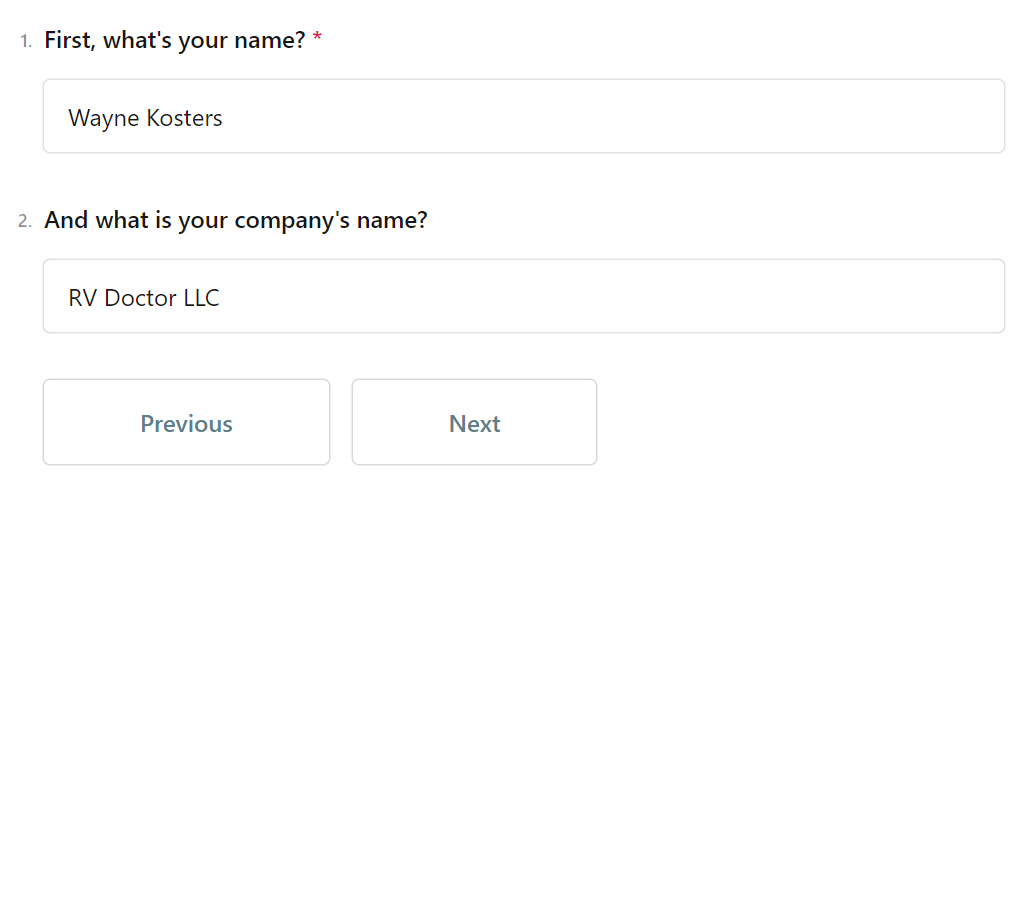
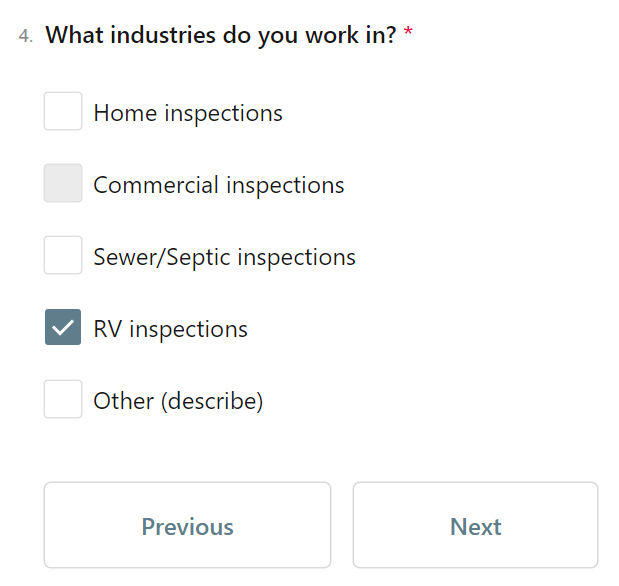
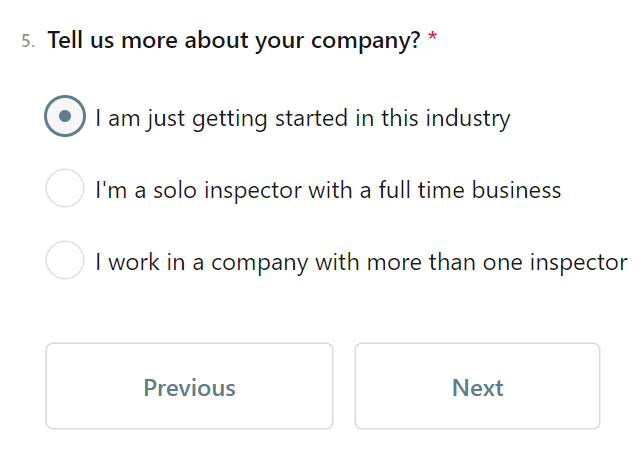
When you start the desktop version after configuring your user account, the software will ask you several onboarding questions.

2) Set Up Company Information
Select the Settings gear icon in the desktop application’s lower left corner. Add your certification logo(s) to the Profile page. On the Company section, load your business information and print the (company) logo. A header logo is not required.
3) Edit ‘Boilerplate Language’
During the initial configuration of the RV Scribeware installation, we will add ‘Boilerplate’ information for an RV Inspection to your account, describing the scope, chapters, and sections, and provide it as is. Please edit the provided information after legal review. The following describes boilerplate customizations;
4) Setup Agreements
Agreements are available and are provided as is at Sample Agreements. From the Edit Settings, select the Contracts option along the left options. Add the agreements; RV Scribeware does not have a field for coach Year-Make-Model and VIN. “We have configured the agreements to use the ‘Agent Name’ field on the ‘Client/Property Information’ page. The following describes setting up contracts in Scribeware;
5) Confinguring ‘Custom Report CSS’
I suggest adding the following Custom Report CCS information in the Advanced section of the setup.
.header-color:before {
  position: absolute;
  content: '';
  top: 0;
  left: 0;
  width: 100%;
  height: 100%;
  background-color: rgba(21, 114, 117, 0.0); /* HEADER COLORS */
}

/*#1️⃣1️⃣🚩LIGHT COLOR BACKGROUND WITH LIGHT BORDER IN SUMMARY*/
#summary ul li ul {padding-top: 0px;}
#summary ul li ol {padding-top: 0px;}
#summary ul {border-color: inherit;}
#summary > div > ul > li {
background: rgba(240,237,237, 1);  /*1 is the transparency*/
padding: 15px;
border-radius: 05px;
border-width: 0.25px;
border-style: solid;
border-color: inherit;
margin-top: 6px;
}

p.intro {visibility: hidden; position: relative;}
p.intro::before {content: "Inspection report for the RV at"; visibility: visible; position: absolute; right: 0;}
More information on settings can be found on YouTube.
Finally, if you have questions about setting up or configuring RV Scribeware to do RV Inspections, please email info@rvscribeware.com.